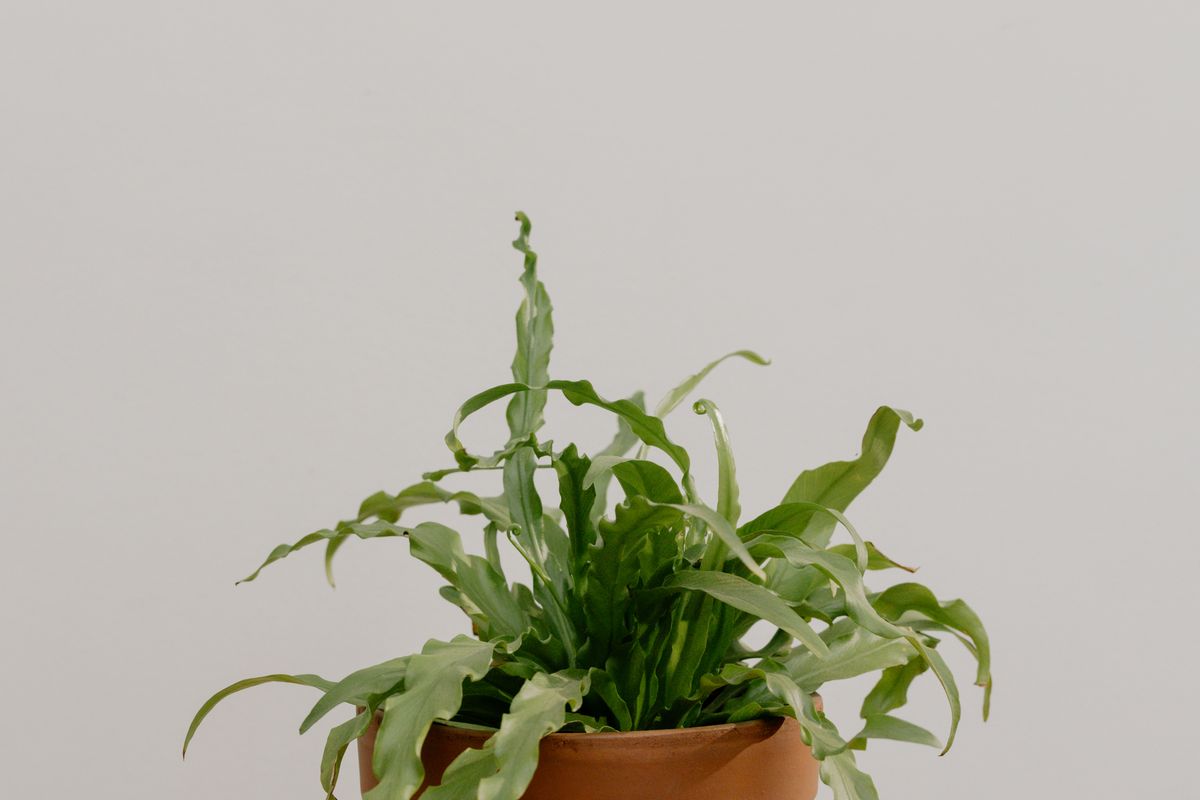
Starting Spider Plant Babies Without a Crowded Windowsill
Select healthy spider plant offsets, establish their roots, and give young plants suitable pots without overcrowding your windowsill.
Updated
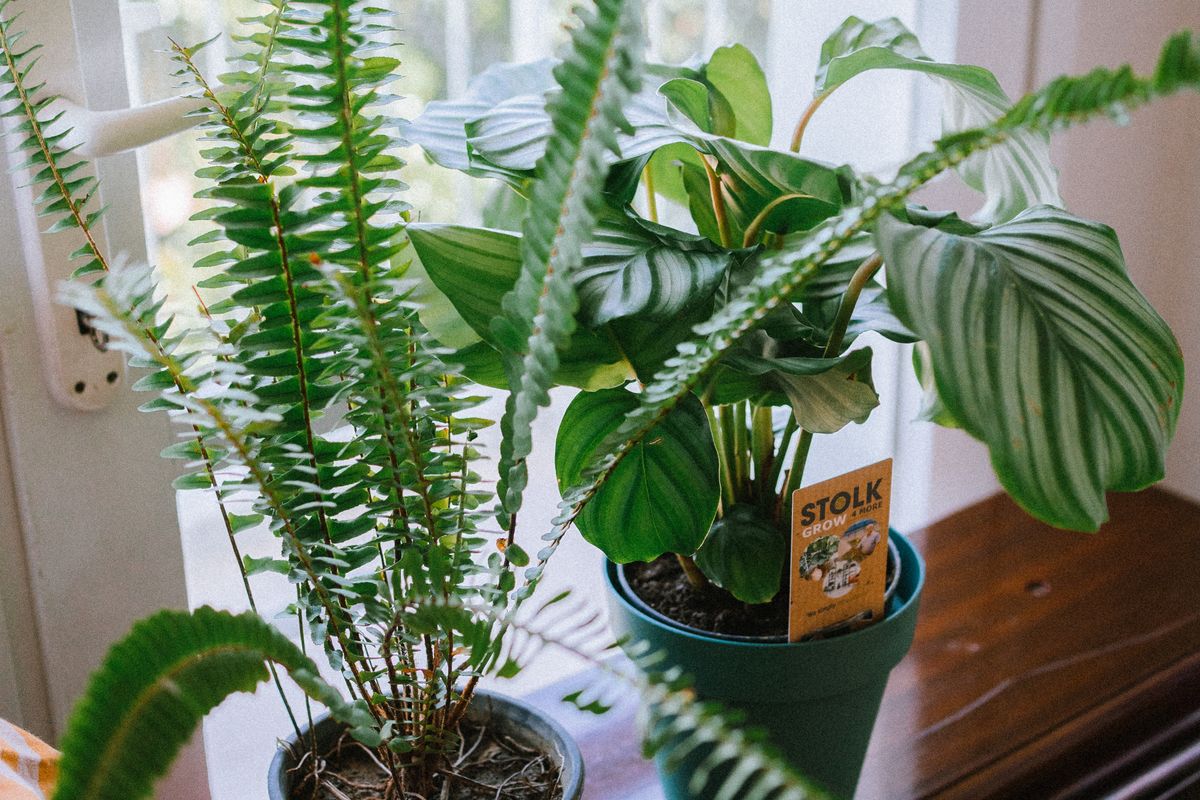
Set the offset so its crown remains above the mix. Secure it lightly; if it is still attached to the parent, allow roots to establish before cutting the connecting stem.
Choose an offset with a useful starting point
Spider plants produce little plants on long arching stems. An attractive cluster of leaves is not necessarily ready to establish on its own, so inspect the small crown at its base. Look for firm healthy tissue and developing roots or root bumps rather than choosing only the largest leaves.
Leave a very small immature offset attached while it develops. The parent plant can continue supporting it, and there is little benefit in cutting early simply to fill another pot. A healthy parent with suitable light and moisture provides a better starting point than a stressed plant being divided into many weak pieces.
Check the offset for pests and damage before bringing it into a propagation area. A clean-looking plant can still hide insects around the crown. Keep newly acquired material separate from an established collection until repeated inspections are reassuring.
Decide how many plants you actually want
A mature spider plant can produce more offsets than a household has room to grow. Count the available light and shelf space before rooting every one. A few well-established young plants are easier to maintain than a crowd of tiny pots that alternate between drought and saturation.
Choose offsets with a clear purpose: replacing an aging specimen, creating a fuller display or giving a rooted plant to someone who wants it. Label different cultivars if their appearance is important. Very young leaves may not show their mature pattern clearly.
If you plan to give plants away, establish them first rather than handing over fragile unrooted pieces without guidance. Include the plant identity and a brief explanation of its current conditions. This makes the transfer easier for both plant and recipient.
Prepare a small draining container
Use a clean small pot with drainage holes and a suitable airy potting mix. A tiny root system does not need a large decorative container of wet compost around it. Choose a size you can water evenly and inspect without disturbing the plant.
Moisten the mix before positioning the offset so it is evenly damp rather than dusty in one area and saturated in another. Fill loosely and leave enough space below the rim for careful watering. Do not compress it into a solid block.
If the pot sits inside an outer container, make sure you can remove it and empty runoff. Propagation pots are easy to forget when hidden inside a deep decorative vessel. Keep the arrangement simple until the young plant is established.
Rooting while the offset remains attached
Where the connecting stem reaches comfortably, place the offset onto the prepared mix while leaving it attached to the parent. Set its base against the surface with the crown above the mix. A small gentle peg can hold it in contact without crushing the growing point.
Keep the little pot stable so it cannot be pulled over by movement of the parent plant. Do not stretch the connecting stem across a walkway or bend it sharply around furniture. The arrangement should remain safe through watering and ordinary household activity.
Once the offset has established roots and begins holding itself in place, cut the connecting stem with clean scissors. Do not pull it away. The advantage of this method is that the parent can support the offset during the early stage, but moisture and light still need attention.
Rooting a detached offset in mix
A detached offset can also root directly in a suitable moist mix. Position the base so developing roots can enter the material while the central crown remains above it. Burying the leaf bases deeply creates an unnecessarily wet pocket around vulnerable tissue.
Secure the plant lightly if it rocks. Movement can repeatedly break contact between tiny roots and the mix. The support should hold it steady without tying leaves into a tight bundle or restricting the central growth.
Place it in useful indirect light and keep the root area evenly moist without standing water. A newly detached plant has a limited root system, so do not subject it to the same drying routine used for a mature established plant. At the same time, constant saturation is not a substitute for roots.
What water propagation does well
A clear jar allows you to watch roots developing without lifting the plant from compost. Keep only the rooting base in water, with leaves and the crown clear of prolonged submersion. Use a clean vessel that supports the offset securely.
Inspect the water and plant regularly. Replace water as needed to keep the setup clean and remove any decaying material. A jar crowded with many offsets is harder to inspect and can allow leaves to sit below the surface. Give each piece enough room to remain upright.
Visible roots are encouraging, but they do not mean the plant can immediately tolerate neglect after potting. Moving from water to mix changes the environment around the roots. Use a small draining pot and maintain even moisture while it adjusts.
Light and warmth during establishment
Useful indirect daylight supports rooting and new leaves. Strong direct sun can heat a small container quickly and increase water loss before roots can keep up. A dim shelf creates the opposite problem: slow growth with compost that may remain wet for too long.
Choose a stable moderate position away from heater blasts and cold drafts. A windowsill can change temperature sharply after sunset, so check the actual location rather than relying on the room’s daytime comfort. Small pots respond quickly to local conditions.
Avoid moving the offset every day in pursuit of a perfect spot. Pick an appropriate place, observe it and make a reasoned adjustment if needed. Rooting takes time; a quiet plant is not necessarily a failed plant.
Test establishment without pulling roots apart
New central leaves and gentle resistance to a very light touch can suggest that roots are establishing. Do not repeatedly lift the plant to look underneath. Fine new roots are easily damaged, and the disturbance can delay the progress you are trying to confirm.
For attached rooting, wait until the offset is clearly anchored before cutting the connecting stem. For detached plants, inspect through drainage holes if roots become visible rather than excavating the pot. Keep the test proportionate.
A little temporary untidiness is acceptable. Old leaves may have bent during handling and will not straighten perfectly. Judge the health of the central growth and the stability of the plant, not whether every leaf looks ready for a catalog photograph.
Water the small pot by its own evidence
Tiny containers can dry quickly in warm bright conditions, but they can remain wet in a cool room. Lift the pot and check the mix rather than watering every time the parent plant receives water. Their root volumes and containers are different.
Apply water gently so the offset is not washed out of position. Drain excess and check that the crown remains above the surface. If the mix settles, add a small amount around the roots without burying the center.
Do not introduce fertilizer as an emergency response to slow rooting. A limited developing root system needs suitable moisture, air and light first. Fresh mix may already contain nutrients; follow its guidance before beginning any additional feeding.
When growth does not begin
Check the base for softness or discoloration, the mix for persistent wetness and the location for inadequate light or cold. A damaged crown may not recover simply because it remains green at the tips. Remove clearly decaying material from the propagation area.
If the plant is firm but slow, give it time under stable conditions. Recutting, changing containers and switching between water and compost repeatedly can create fresh stress. Make a change only when you have identified a problem the change can address.
Compare the offset with its own starting photograph. A small new central leaf can be easy to miss among long outer leaves. Progress is often more modest than the dramatic root growth shown in time-lapse videos.
Move gradually into ordinary care
Once the root system is established and new growth is steady, allow the plant to follow a more typical spider-plant watering pattern. Keep checking rather than making a sudden switch to long dry intervals. The size of the container still matters.
Repot only when roots and growth justify it. Moving a tiny established plant straight into a very large pot reintroduces the problem of excess wet mix. A modest next size is easier to manage and keeps the watering response understandable.
Give the leaves room to arch naturally. A crowded windowsill can damage tips and make inspection difficult. Rotate the pot gently where appropriate for balanced light, and keep it away from doors or curtains that repeatedly catch the foliage.
A useful plant to share responsibly
Label the plant and explain whether it was recently rooted in water or mix. Tell the recipient when it was potted and what light it has received. That history helps them avoid an abrupt move into intense sun or a radically different watering routine.
Keep scissors stored safely and clear up small pieces after propagation. Even plants commonly regarded as relatively low risk should not be offered for pets to chew. Fertilizers, rooting products and containers also need safe handling.
The best propagation project ends with a manageable number of healthy plants. You do not need to save every offset. Choosing good material, keeping the crown correctly positioned and giving roots a steady start does more for success than producing the largest possible collection.
Further reading
Use these independent resources to explore the subject and check guidance for your location.