Starting Seeds Without Filling Every Windowsill
Start only the seedlings you can grow on well, with a local sowing calendar, prompt light and a gradual move outdoors.
Updated
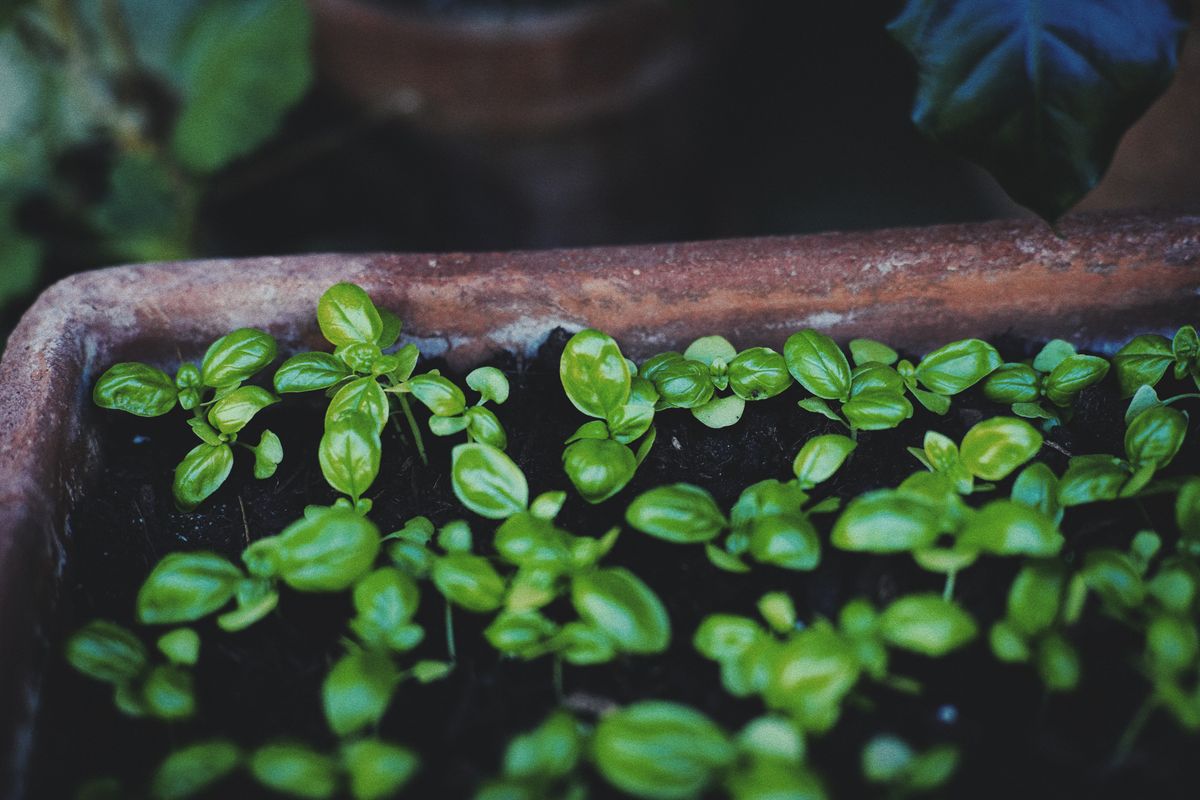
Plan from final planting space, sow modest batches in clean drained containers, provide suitable light after germination and harden off before planting out.
Count the final plants before opening the packet
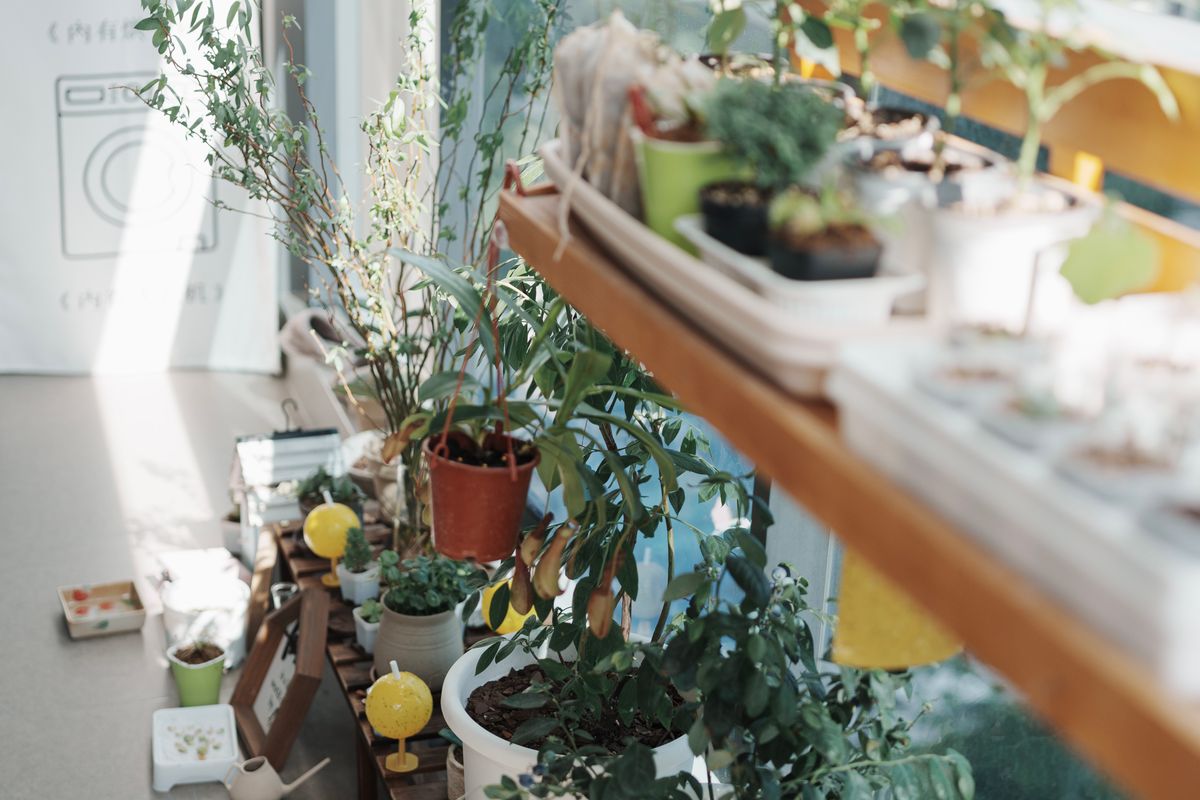
A seed packet can contain far more potential plants than a small garden has room to grow. The shortage usually appears several weeks after sowing, when a tray of tiny seedlings becomes a collection of individual pots. Start with the number of mature plants you can use and the space available for growing them on. Six healthy transplants at the right time are more useful than sixty crowded seedlings stretching toward the same window.
Write down the intended destination for each crop or flower. Include mature spacing, local planting-out conditions and the time needed indoors. Some species are better direct-sown where they will grow, while others benefit from protected germination. Do not start everything early simply because the packet is available. Early sowing creates a longer indoor care period, and weak plants held too long in inadequate light rarely gain the advantage you hoped to obtain.
Build the calendar backwards from local conditions
Use your local frost risk and the requirements of the species to estimate a suitable sowing window. A date from another country or hemisphere is not a reliable instruction for your windowsill. Tender plants need appropriately warm outdoor conditions, not merely one pleasant afternoon. Hardy annuals and cool-season crops follow different schedules. The packet or a reputable regional growing guide should provide the species-specific details that a general seed-starting article cannot.
Allow for the time between germination and planting out. The warm place used to germinate seeds may not provide enough light for seedlings afterwards. Identify that second location before sowing. If there is room for only one well-lit tray, divide the season into small batches instead of trying to run every crop simultaneously. A simple schedule that fits the space is easier to maintain than a crowded indoor nursery assembled in a burst of enthusiasm.
Leave room for a delayed outdoor season. If cold weather persists, seedlings may need an additional week or more under protection, and that extra time increases their space and watering requirements. A spare shelf with suitable light is useful; a dark cupboard is not. For quick-growing species, a later second sowing can sometimes produce better plants than an early batch held in crowded conditions. Compare the likely benefit of earliness with the actual facilities you have before committing the whole packet.
Use clean containers with drainage
Reused pots and trays are useful when they are cleaned and sound. Remove old roots and debris, wash appropriately and let them dry before filling. Make sure each container has functioning drainage holes and a tray that protects the surface beneath it. A sealed food container without drainage can become waterlogged even when the top looks harmless. If repurposing packaging, check that it is suitable, stable and free from residues.
Choose a seed-sowing medium with an appropriate texture and specification. It should support moisture and air around small roots without large lumps interfering with emergence. Ordinary garden soil may be heavy, variable and full of unwanted seedlings. Home compost has useful garden applications but is not automatically a suitable fine seed medium. Read storage and handling instructions for packaged products, keep dust down and wash hands after handling growing media.
Sow thinly enough to see what happens
Moisten the medium before sowing so you do not have to wash small seeds around with heavy watering immediately afterwards. Fill containers evenly and settle the surface gently without compressing it hard. Follow the species' sowing depth and light requirements. The familiar rule about covering a seed by a multiple of its size has exceptions; some tiny seeds need surface sowing or light for germination.
Large seeds can be placed individually in modules, making later handling easier. Fine seed is easier to control when you sow a small measured pinch rather than tipping directly from the packet. Label immediately with the species, variety and date. Two trays of bare medium are indistinguishable after the packets have been put away. If you sow several varieties, use a separate clearly labelled area for each instead of relying on memory about which end of the tray you started with.
Keep germination conditions specific
Warmth requirements vary widely. A propagator or heat mat can help species that need it, but indiscriminate heating can create soft growth or dry the medium quickly. Use equipment as intended and check the temperature where the seeds are, not only the room thermostat. Some seeds need a cool period, special preparation or a different seasonal approach. Research that species before deciding that a packet has failed.
A clear cover can reduce moisture loss during germination. Inspect daily and ventilate or remove it when seedlings emerge as appropriate to the crop. Leaving a closed cover over growing seedlings in direct sun can create excessive heat. Keep the medium evenly moist rather than saturated. If condensation makes it difficult to see inside, open and inspect; the point of a cover is to support germination, not conceal the condition of the tray.
Give emerging seedlings light promptly
Once shoots appear, move the tray to suitable light and adjust warmth according to the species. Seedlings that lean strongly, develop long pale stems or fall over from excessive length often lack sufficient light. A windowsill can look bright to people while providing an uneven or short daily light period for a dense tray. Turn trays where helpful, but understand that rotation does not create more light.
A suitable horticultural light can make a small growing area more predictable if you choose to use one. Follow its instructions for distance and duration, and keep water away from electrical connections. Different lights have different output, so a distance copied from someone else's setup may be inappropriate. Watch for heat or bleaching as well as stretching. Leave a dark period appropriate to the plants rather than assuming continuous light is always better.
Water small roots without flattening them
Use a gentle rose, mist suitable for the task or careful bottom watering to avoid dislodging seedlings. Bottom watering can moisten a tray evenly, but remove excess water after absorption so the roots are not left permanently submerged. Lift a corner or inspect a spare module to judge moisture. A surface that looks dry is not a reason to leave the whole tray standing in water overnight.
Small pots can dry quickly under lights or in a warm room. Conversely, low light and cool conditions reduce water use. Match the routine to the environment instead of watering every tray at the same hour with the same amount. If seedlings collapse near the soil line, consider damping-off and other causes, remove affected material appropriately and improve hygiene, spacing and moisture management. Do not keep rescuing a clearly failing saturated tray by adding more water.
Thin and pot on before crowding takes over
Where several seeds germinate together, thin to a suitable number while they are small. Use clean scissors to remove extras if pulling them would disturb the seedling you want to retain. For species that tolerate pricking out, handle gently by a seed leaf rather than squeezing the stem. Prepare the receiving pots first so roots spend as little time exposed as possible. Keep the new planting depth appropriate to the species.
Move seedlings on when their development and root growth justify it, not simply because a date has arrived. A module filled with roots dries rapidly and can restrict growth, while a tiny seedling in an oversized wet pot can struggle. Choose the next container size sensibly. If space is running out, prioritize the strongest plants and give away suitable surplus early. Keeping every seedling can reduce the quality of the whole batch.
Harden off rather than making one sudden move
Indoor-grown seedlings are accustomed to a gentler environment. Outdoor sun, wind and temperature changes can damage them if introduced abruptly. Acclimatise them gradually during suitable weather, beginning in a protected position and increasing exposure over a period appropriate to the species and conditions. Bring tender plants back under protection when nights are too cold. A single warm day does not remove the need for this transition.
Watch moisture during hardening off because small pots dry differently outside. Set trays where they cannot blow over, be trampled or become trapped in a cold puddle. Shade-loving seedlings need protection from strong direct sun, while sun-loving plants still need gradual exposure. The process should produce firmer, more resilient growth, not a tray of scorched leaves that must recover before planting. Delay planting out if the weather turns unsuitable.
Finish the cycle with useful records
Plant into prepared soil or final containers at the spacing the mature plants require. Water in carefully and protect against the specific risks of the site, such as slugs or strong wind, using appropriate methods. Keep labels until you are confident of the varieties. Compare the result with the number of plants you originally needed; this is the moment to learn whether the sowing batch was appropriately sized.
Save a brief record of sowing date, germination, potting on and planting out, together with any significant problems. If one variety consistently succeeds in your conditions, that is more useful than a vague memory that the whole season went well. Store unused seed according to its needs and check its likely longevity before next year. A small seed-starting setup becomes productive through timing, light and restraint, not by filling every available windowsill with another tray.
Further reading
Use these independent resources to explore the subject and check guidance for your location.